The one question we get asked the most whenever we post an image using founder Lisa Eryn’s gallery wall, is “How can I get one for myself?” Here’s our step-by-step guide to planning, curating and hanging an iconic gallery wall that you’ll want to show off at every occasion.
A gallery wall is more than just a collection of artwork—it’s a curated expression of personal style, transforming any space into a sophisticated and visually engaging environment. Whether decorating a living room, hallway, office, or bedroom, a well-designed gallery wall adds character, depth, and elegance to your home.
Step 1: Curate Your Art Collection
The foundation of a compelling gallery wall begins with selecting artwork that complements while adding visual interest. These Fine Walls offers a curated selection of fashion photography, abstract pieces, and black-and-white compositions, perfect for a modern, high-end aesthetic. Mixing different styles, such as bold fashion photography alongside minimalist abstract prints, creates a dynamic display.
To ensure a cohesive look, it helps to stick to a unified color palette, whether that’s classic black and white, muted neutrals, or a subtle pop of color. Incorporating different-sized frames also enhances the layout, adding depth and intrigue to the arrangement.
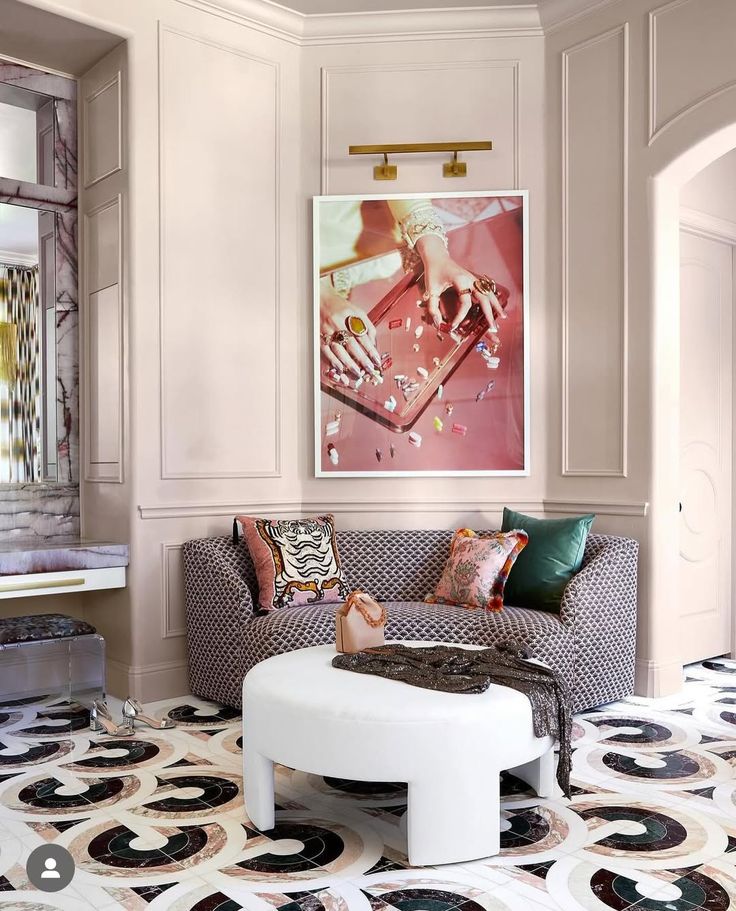
In Lisa’s gallery wall, a mix of fashion editorial-style pieces with abstract and landscape builds a balance between edge and elegance. The highly curated selection allows each piece to stand out while adding to the overall harmony of the composition.
Step 2: Select the Right Frames and Mounting Style
The choice of frames significantly impacts the overall aesthetic of your gallery wall. A sleek acrylic mount offers a modern, gallery-like finish, making the artwork appear to float effortlessly on the wall. Traditional black or white frames provide a timeless and versatile look, while incorporating gold or silver metallics adds a touch of glamour and sophistication. Try mixing a few styles together as Lisa has with her gallery wall to give it that “collected” look.
Step 3: Plan Your Layout Before Hanging
Before committing to hanging your frames, take time to map out your layout. One approach is to lay the framed pieces on the floor and experiment with different configurations. Using painter’s tape to outline the frame sizes on the wall can also help you visualize the final arrangement. For an added layer of assurance, take a photo of your planned layout to see how it appears as a whole.
There are several popular layout options to consider. A grid-style gallery wall offers a clean and structured look, perfect for uniform frames and symmetrical designs. For a more organic and eclectic feel, an asymmetrical arrangement allows for a mix of frame sizes and orientations. If you prefer a streamlined, contemporary effect, a linear layout is ideal, especially for hallways or above furniture.
Step 4: Install with Precision
Although we recommend hiring a professional, it is possible to hang your own gallery wall. When it’s time to hang, use picture-hanging hooks rather than nails to provide better safekeeping and to help keep frames level. A laser level or measuring tape is essential to maintain alignment (nothing makes your gallery wall look messier than crooked frames!). If you prefer a more renter-friendly option, consider using command strips or a floating ledge shelf, allowing for flexibility in rearranging or swapping out artwork over time.
Get the Look: Create Your Gallery Wall with These Fine Walls
Start with these pieces to emulate Lisa’s wall in your own home:

https://thesefinewalls.com/products/scarlett

https://thesefinewalls.com/products/amy

https://thesefinewalls.com/products/watermelon-2

https://thesefinewalls.com/products/desir

https://thesefinewalls.com/products/le-collier

https://thesefinewalls.com/products/enly-ii

https://thesefinewalls.com/products/staz-ii